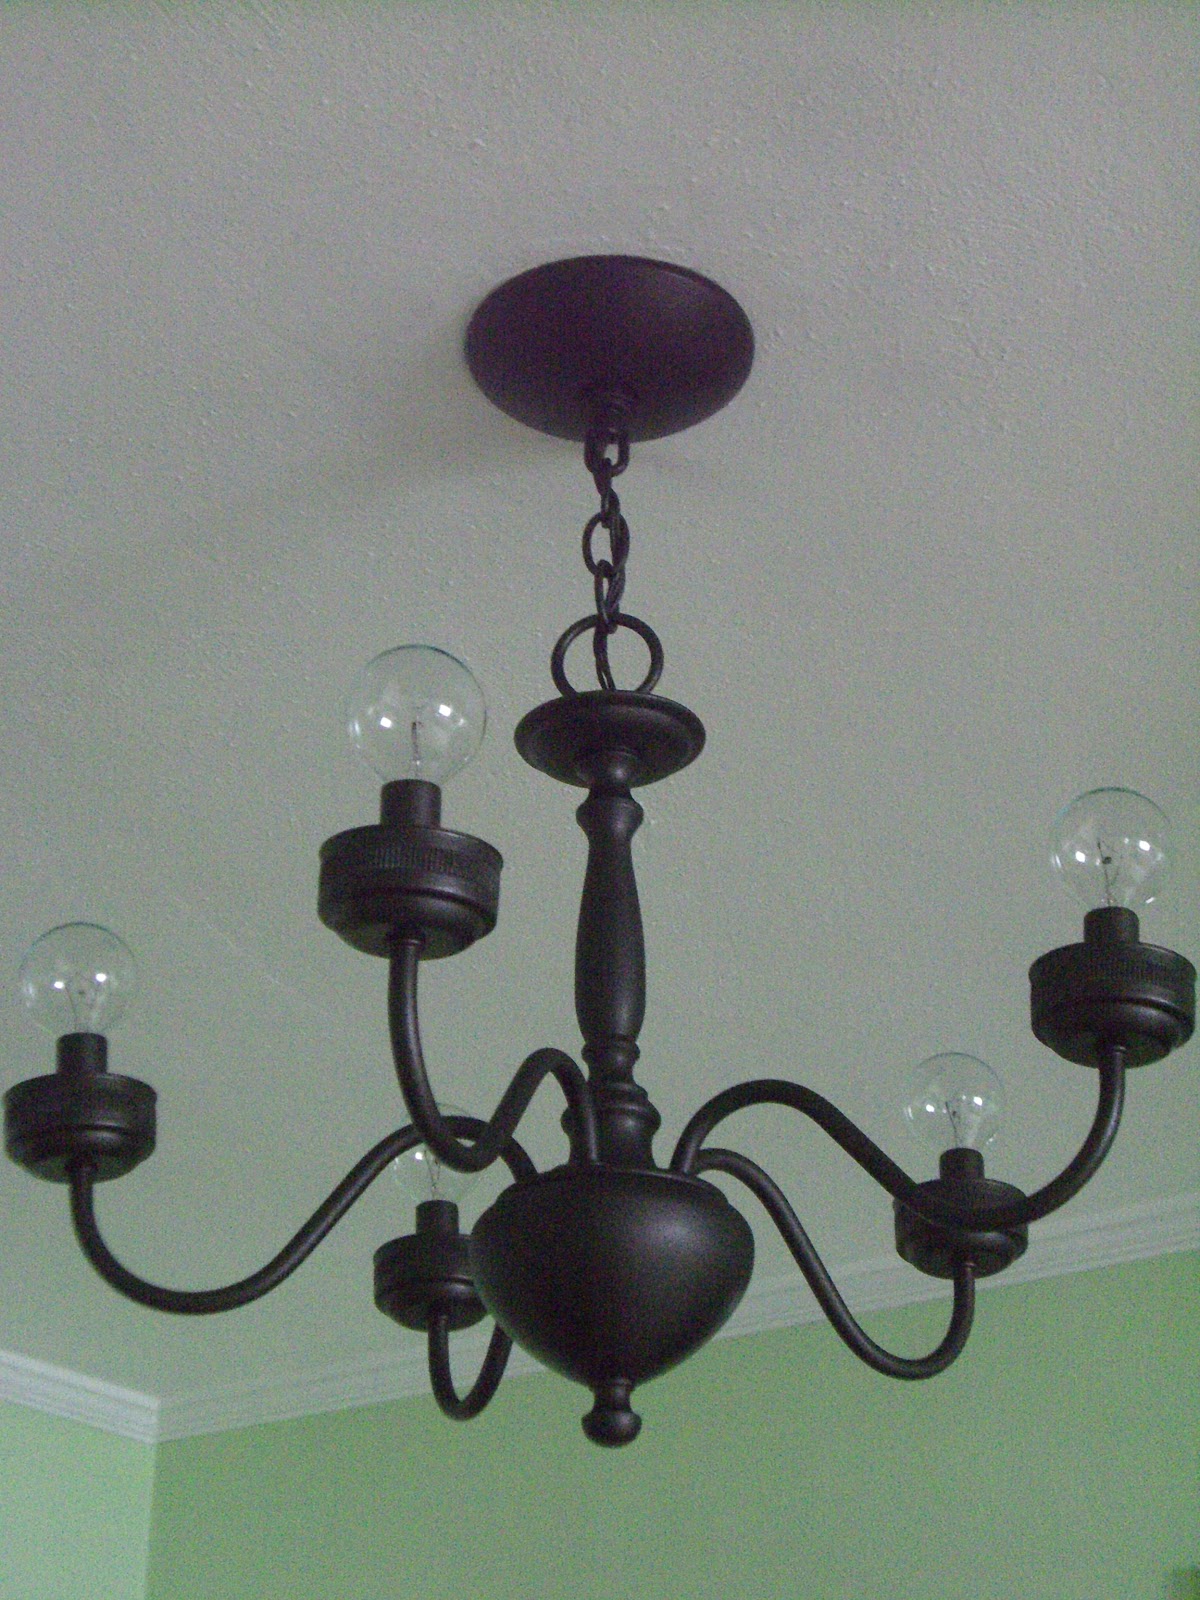
Instead of spending more $$ and buying a brand new light fixture for the kitchen, we just decided to somehow update our old brass chandelier. Not even two weeks after our wedding, I had already begun a little revamp on the light fixture by taking off the glass globes for a more modern look.
Through perusing one of my favorite blogs, Young House Love, I came across one of their chandelier makeovers with spray paint (they painted a chandelier here and here). Now, why in the world did I not think of that quick, inexpensive, and simple idea?!
We purchased a can of our new favorite oil-rubbed bronze spray paint, and began the transformation (we also used this spray paint on our cabinet hardware). Before going at it, Drew Babe made sure to tape off the places where you screw in the lightbulbs (knowing me, I probably would have never thought of that important little detail, but that's why I married Drew:).
Unfortunately we don't have a starting picture to show the brass and the glass globes, but this is after the first coat of the spray paint.
Here is the finished product after 3 coats of oil rubbed bronze spray paint. Of course, we let it dry in between coats, and then Drew Babe carefully reinstalled it in the kitchen.
Originally this chandelier had the usual candle-tip lightbulbs. For the final makeover step on our light fixture, we used small round lightbulbs for a slightly different look.
Well, there it is. Our updated, from brass to bronze, chandelier. Ever since our cabinet hardware project, and now this project, I am constantly looking around the house to see what else I can update with spray paint. Have you ever used spray paint for a house project? Sometimes I just want a quick and easy fix, and that's exactly what spray paint can do.
Thursday, January 12, 2012
Monday, January 9, 2012
Progress in the Kitchen
Even before our wedding, Drew Babe started working on the kitchen. Originally, the kitchen had faux wood laminate counters, like in the picture here. Actually, I shouldn't even say "faux" because that makes it sound chic, and this kitchen started out far from being chic. I'm sure in the 1970's it looked quite nice, but we are going for a more 2011-ish kinda look.
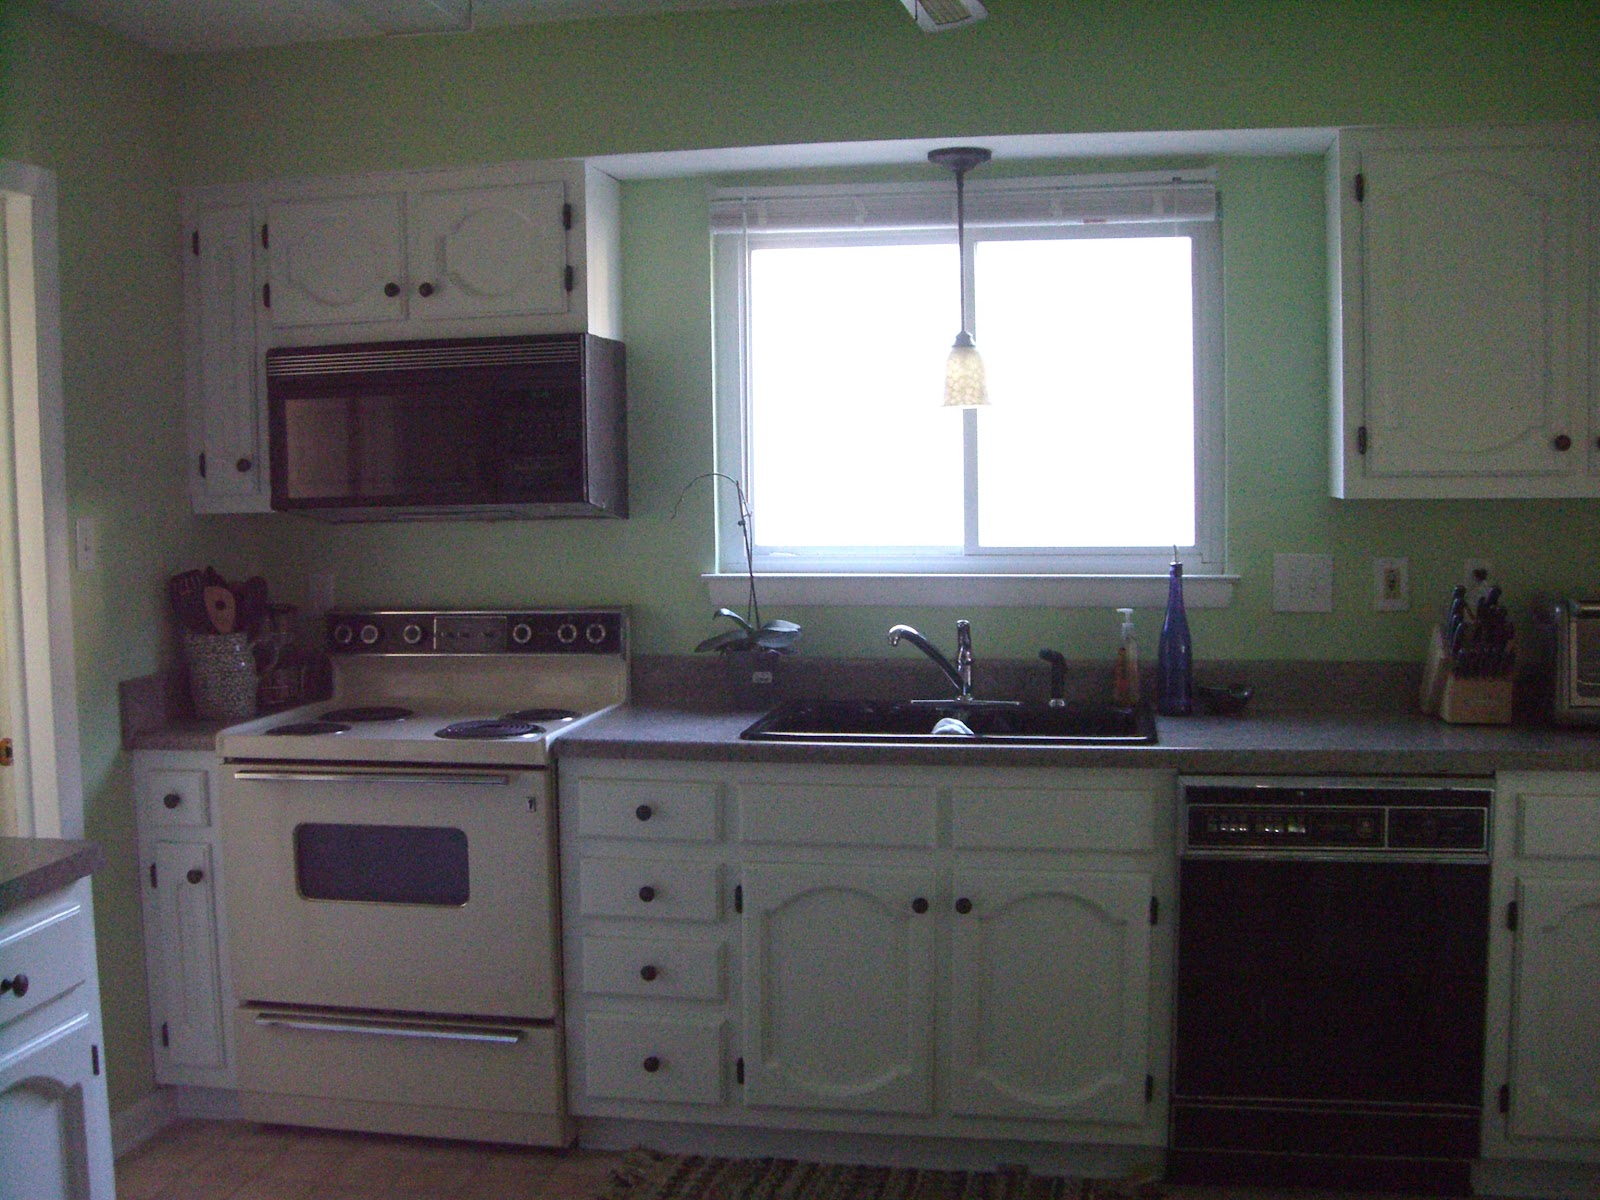
So, our first step was to rip out the fake wood counters and install (with the help of Uncle Wayne) new laminate counters, just like these. We also put in a new deeper black sink in place of the old shallow stainless one.
Because we know the kitchen is everyone's favorite hang out spot, we wanted to make it was open as possible. Originally, the counter up against the wall (now known as "the peninsula") used to be an island, sticking out into the middle of the kitchen and cutting it in half (unfortunately we forgot to take those before pics...I promise we really are working on that). When we ripped up the island and turned it to be placed up against the wall, it was a perfect fit! We did have someone extend the back to make it a few inches deeper, because we can always use more storage space.
To open the kitchen up even more, I asked Drew Babe if we could remove that decorative scroll-y wood piece above the window. After he ripped that wood piece out, I immediately thought removing the wood shelves on either side of the window would make it look more modern (see why the Martin honey-do list is never ending...poor Drew). We both loved the new open window!
Next came the daunting and tedious task of painting the cabinets. We, actually Drew, began by removing all the doors and drawers, so we could more easily sand them down. We sanded and wiped them clean, and then applied three coats of primer. For the final coat of paint we went with Sherwin-Williams ProClassic trim and door paint, in a gloss Pure White color. We had heard horror stories of people trying to cover their wood cabinets with white paint, but thankfully our cabinet project went smoothly, most likely because of Drew Babe's meticulousness and patience.
You might notice the hardware seems different as well. I found the oil rubbed bronze knobs on Ebay for a little over $1 a piece. Tons cheaper than the Lowe's or Home Depot price.
The hinges used to be an old brassy color. Instead of spending well over $100 on new hinges, I suggested we try to paint them. Drew was a little wary of this idea, because painting a metal contraption with lots of moving parts can be tricky. We took our time and used our new favorite, (thanks to Young House Love) oil-rubbed bronze Rust-oleum spray paint, to paint all those little jaspers. They turned out great and even after opening and shutting the cabinets countless times, the paint has stayed the same.
After we removed the scroll-y wood thing from above the window, it left a tiny fluorescent light for all the world to see. Drew Babe used his electronic tech skills to install a new pendant light above the sink. At night it gives off such a cozy, homey glow.
The first night of having the light installed, we both couldn't get over the beautiful glow coming from the light. I bet we stood there for more than a couple minutes just staring at the light and pondering deep thoughts (well, maybe not that last part, but we definitely stared at it).
Drew Babe installed the white shelves above our "peninsula" as a surprise for me.
Still to do:
So, our first step was to rip out the fake wood counters and install (with the help of Uncle Wayne) new laminate counters, just like these. We also put in a new deeper black sink in place of the old shallow stainless one.
Because we know the kitchen is everyone's favorite hang out spot, we wanted to make it was open as possible. Originally, the counter up against the wall (now known as "the peninsula") used to be an island, sticking out into the middle of the kitchen and cutting it in half (unfortunately we forgot to take those before pics...I promise we really are working on that). When we ripped up the island and turned it to be placed up against the wall, it was a perfect fit! We did have someone extend the back to make it a few inches deeper, because we can always use more storage space.
To open the kitchen up even more, I asked Drew Babe if we could remove that decorative scroll-y wood piece above the window. After he ripped that wood piece out, I immediately thought removing the wood shelves on either side of the window would make it look more modern (see why the Martin honey-do list is never ending...poor Drew). We both loved the new open window!
Next came the daunting and tedious task of painting the cabinets. We, actually Drew, began by removing all the doors and drawers, so we could more easily sand them down. We sanded and wiped them clean, and then applied three coats of primer. For the final coat of paint we went with Sherwin-Williams ProClassic trim and door paint, in a gloss Pure White color. We had heard horror stories of people trying to cover their wood cabinets with white paint, but thankfully our cabinet project went smoothly, most likely because of Drew Babe's meticulousness and patience.
You might notice the hardware seems different as well. I found the oil rubbed bronze knobs on Ebay for a little over $1 a piece. Tons cheaper than the Lowe's or Home Depot price.
The hinges used to be an old brassy color. Instead of spending well over $100 on new hinges, I suggested we try to paint them. Drew was a little wary of this idea, because painting a metal contraption with lots of moving parts can be tricky. We took our time and used our new favorite, (thanks to Young House Love) oil-rubbed bronze Rust-oleum spray paint, to paint all those little jaspers. They turned out great and even after opening and shutting the cabinets countless times, the paint has stayed the same.
After we removed the scroll-y wood thing from above the window, it left a tiny fluorescent light for all the world to see. Drew Babe used his electronic tech skills to install a new pendant light above the sink. At night it gives off such a cozy, homey glow.
The first night of having the light installed, we both couldn't get over the beautiful glow coming from the light. I bet we stood there for more than a couple minutes just staring at the light and pondering deep thoughts (well, maybe not that last part, but we definitely stared at it).
Still to do:
- New curtain above the sink. I already have the fabric, so step one of that project is done!
- New floors. Eventually we would like laminate wood floors throughout the kitchen, family room, and hall.
- New appliances. The creamy stove really just throws off the crisp and clean look of the cabinets. We are probably going to go with stainless and have already looked at some. Still waiting for a great deal.
- I would also like to paint the wall and slightly different green color. Less minty and more apple-y. That may happen way down the road.
Friday, January 6, 2012
City Trips: DC and NYC
Hopefully it isn't too late to post this because both of these trips were from the end of the 2011, so I suppose they really are old news. Oh well, at least they will be new to you.
This past November, my sweet husband suggested we take a weekend trip to northern VA to visit our nation's capital and to make a long anticipated shopping stop into Ikea. I had been talking his ear off about going to Ikea for the past several months, so of course I thought that was a great suggestion!
We started our trek to Woodbridge, VA on Friday. After a delicious lunch at Chipotle, we pulled into the parking garage of the place I had been waiting for all my life, (well, not quite that long) Ikea. Unfortunately we did not get any pictures of the giiinormousss blue and yellow building, but we did find some great buys that are actually hanging in our family room right now (I will have a more detailed post on that later:).
After several hours in Ikea (time surely flies when you're having fun), we made our way to a hotel that I had booked to the west of DC. Because the hotel was outside the city, we got an excellent deal on it...like a dirt cheap deal for a very clean and nicely decorated Marriott in a lovely setting, and it was just a five minute drive to the metro station.
| The view from our hotel room. I was so glad we were still able to see some of the brilliant colors of the fall leaves. |
| My Drew Babe and I with our hotel is in the background. |
| We spent one night in the hotel then got up Saturday morning to make our way to the capital. This is the drive leaving the Marriott. Don't you agree it's a beautiful setting? |
| He is just SO cute...even while checking his phone ;) |
| DC metro: the fastest and easiest way to maneuver through the city. |
| I think Drew Babe is pretty proud of this picture. |
| Definitely a perfect day to walk all over DC. |
| The Library of Congress. All I could think about while walking through here was National Treasure. |
| Love him :) |
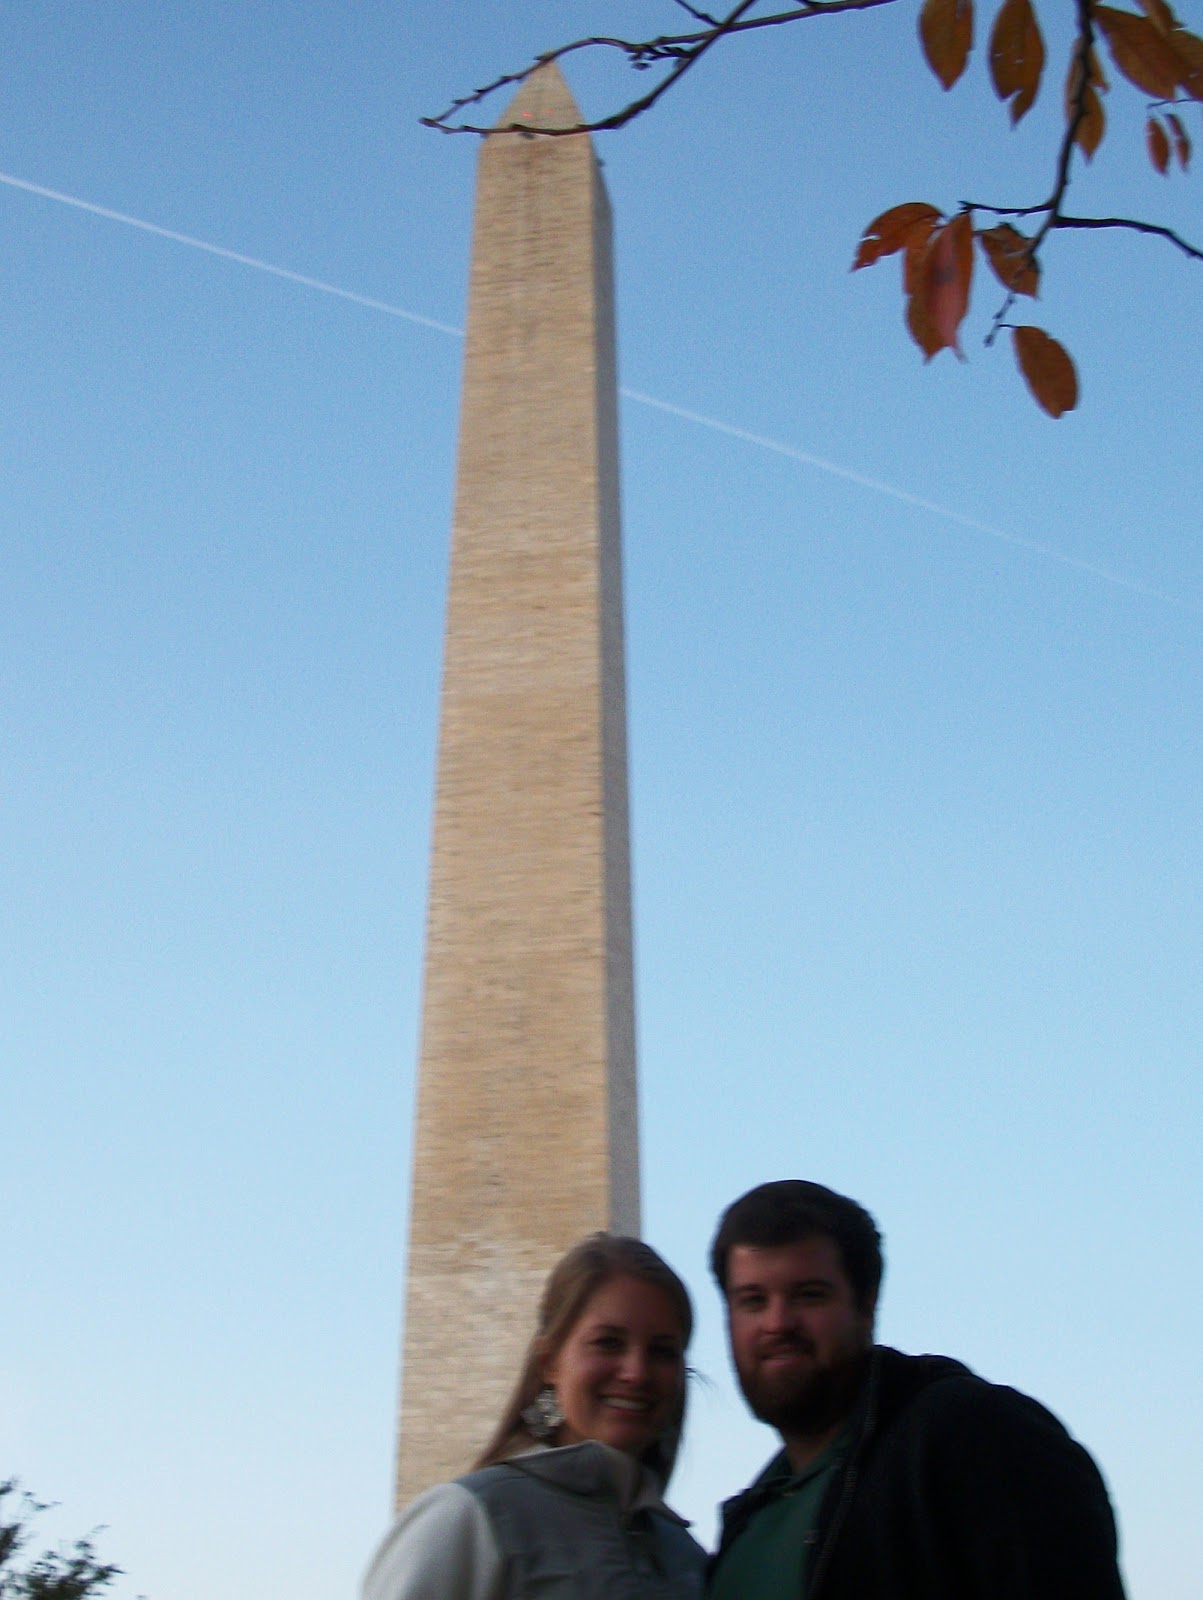
| We decided to visit the monuments (Washington, WWII, Lincoln) at sunset/night. That turned out to be a good idea because everything gave off a beautiful creamy glow. |
Now off to NYC!
You may have read in the Christmas post that Drew Babe surprised me with a trip to NYC as part of my Christmas gift. It has been at lease a ten year long dream of mine to visit the Big Apple during the Christmas season, and when I found out on Christmas day that Drew Babe was going to make my dreams come true, I cried. Goodness gracious, I never used to be a crier. I just don't know what happened.
Anyways, I was super excited to be going to the city with my Drew Babe. Like I said before, when I see things in real life that I have seen on TV or in movies it makes me happy, and NYC has a lot of those types of things (Times Square, Rockefeller Center, Central Park, the Statue of Liberty, and so on and so on). I kept envisioning Miracle on 34th Street, Home Alone 2, and Elf.
We left a couple days after Christmas. My Aunt and Uncle who live in New York graciously let us stay at the home and helped us map out our adventures in the city. Our first stop was central park.
| They had lots of these cute carriages throughout the park, all decorated differently. |
| The ice skating rink in Central Park. |
| "Breaking the Ice" scene. |
| Times Square |
| Mulberry Street in Little Italy is lined with dozens of Italian restaurants. |
| Our last meal in Queens at a neighborhood irish pub. Best french fries (according to me) and best burger (according to Drew Babe) ever! |
| Leaving the city with the view from the Queensboro bridge. |
NYC with my Drew Babe was truly a wonderful surprise to end 2011.
Sunday, January 1, 2012
Bringing in the New Year
with a bang bathroom! Since it's the beginning of 2012, I thought I'd introduce you to the beginning of our Martin house projects. Mind you, this is only the beginning of our continual transformation of the bachelor pad into our home. Before we were pronounced Mr. and Mrs., and I moved in to the bachelor pad, Drew Babe began this first project of redesigning the Pepto-Bismol pink master bathroom. Just the color of the wall (and ceiling....and door....and trim, everything was painted the thick, dull pink color), should give you a clear image of what the rest of the bathroom looked like.
Sorry for the lack of "before" pictures. We will try to get better at that, but hopefully you can still get a glimpse of the very first Martin House project.
| This is where the simple wood vanity once stood. After being ripped out (I think Drew Babe enjoyed the demo part), the vanity was tossed to the street. You can see the old dark green wallpaper and border, and the even older flowery wallpaper that was hidden behind the vanity. |
| Drew Babe did an awesome job doing the majority of the bathroom work by himself (I'm so happy to be married to a handsome do-it-yourself-er :). Thankfully we were able to get a new sparkly white toilet to replace this cream colored, mismatched-top throne. |
| The hand towels were also found at TJ Maxx and match the shower curtain almost perfectly. |
| While the vanity did come with a matching mirror (yay!), it did not come with any kind of backsplash (boo). I believe it's a necessity to have a backsplash behind a bathroom sink to prevent having drips of toothpaste and soapy water all down the wall behind the vanity. To solve this problem, my ingenious Drew Babe found a piece of marble door threshold at Lowe's (or maybe Home Depot...can't remember which) that would go with the counter top color, and then had it cut to fit perfectly around the sink as our backsplash. Who would have thought that a threshold could double as a backsplash. |
Subscribe to:
Posts (Atom)