Showing posts with label Pinterest. Show all posts

Monday, August 13, 2012

Mirror, Mirror

The Pinterest bug that I mentioned in my last post has been lingering on.  After seeing sunburst mirrors all over Pinterest and on other blogs, I decided our big bare wall in our bedroom needed a big beautiful sunburst (way too many b's...sorry).  Most of my inspiration was found on Bower Power.


Actually ALL of my inspiration was from that blog.  I pretty much copied her technique because I loved how her's turned out.

For my project I used around seven packs of twelve inch wood shims.  I'm sure I got funny looks in Lowes when I picked up my bundle of 294 wood shims.  

Before glueing, I designed the entire starburst just how I wanted it.  Once I liked the shape of the starburst, I began glueing each of the shims into rays (group of 6-10 shims).  Again, I straightened those out and finished the task by glueing all of the rays together.  I used three tubes of construction adhesive.
(Note: Drew Babe sweetly let me know that I probably most likely definitely didn't need nearly that much construction adhesive.  Guess when I was squirting on the glue, I was just being overly cautious and making sure my starburst was not going to fall apart.  Live and learn.)
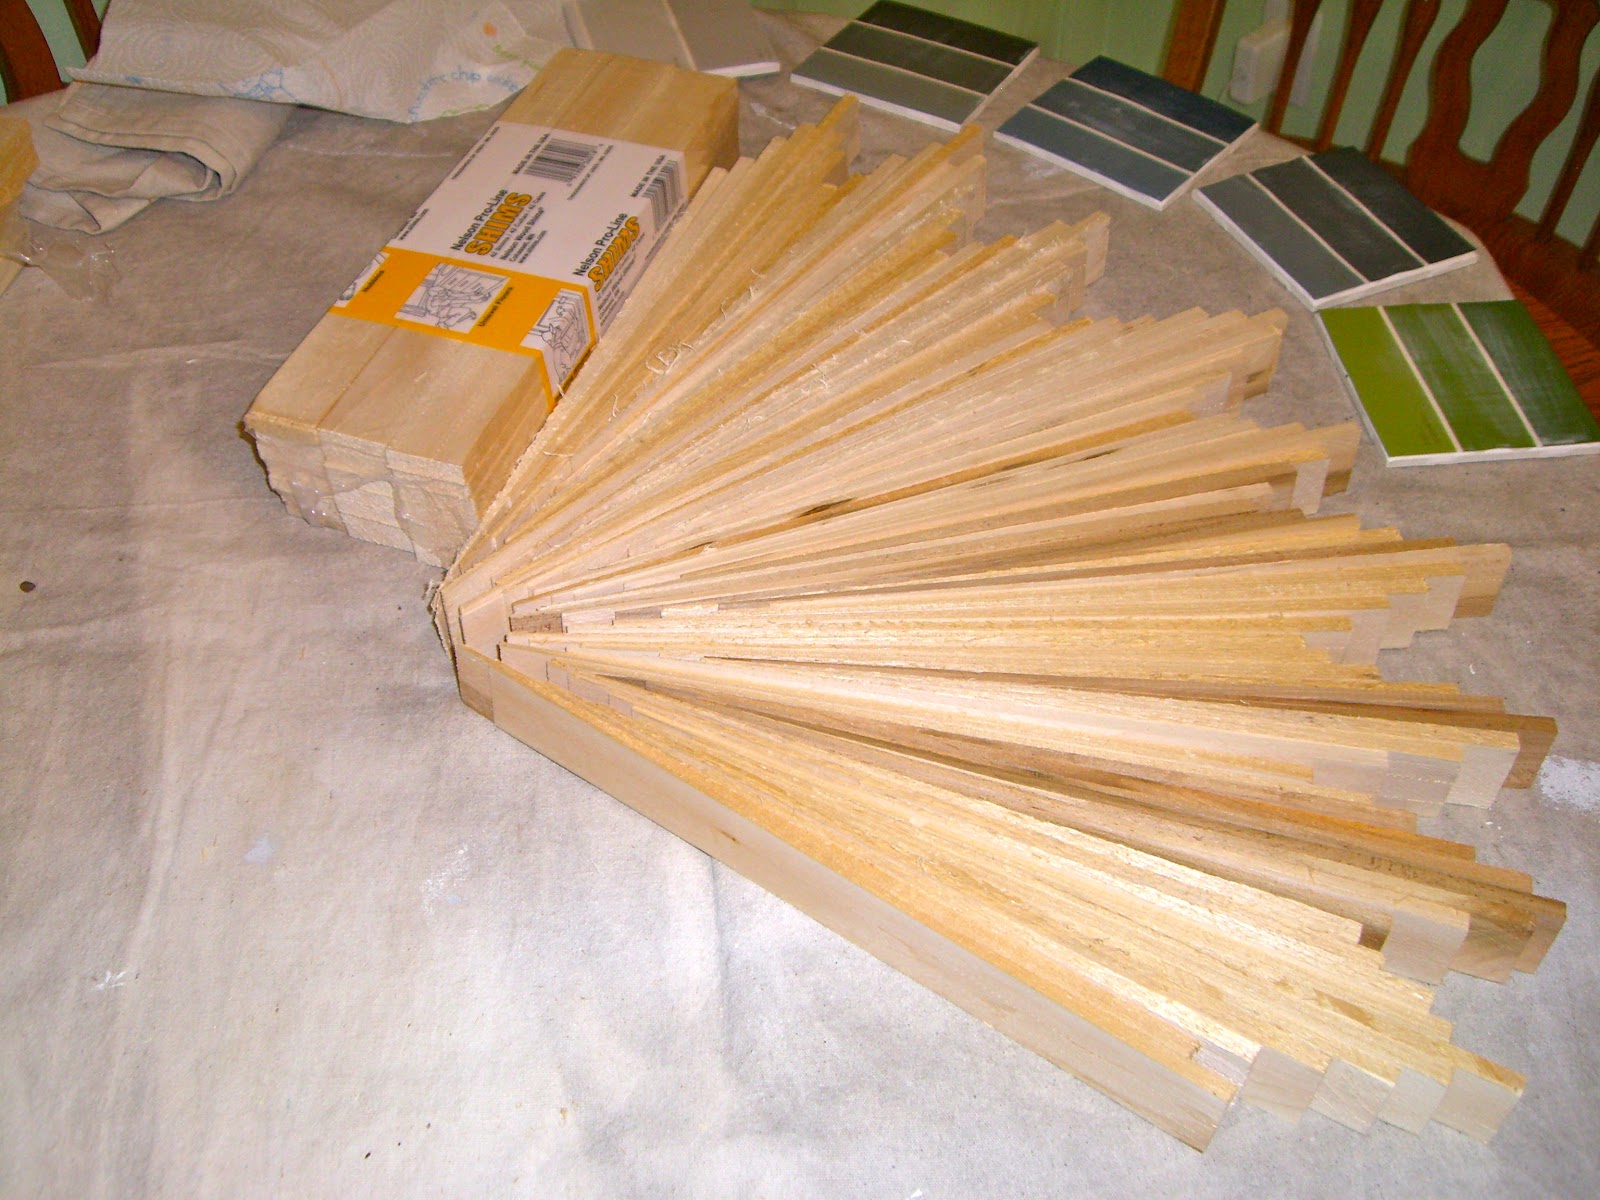

You might notice that all of the rays are not the same size.  I wanted to create the general shape of the starburst, without everything being perfect.


In order to give the starburst some stability and to provide an anchor for hanging on the wall, I glued a 16x16 piece of thin plywood to the back.

Once it was all together, I gave it a light sand and spray painted it with a classic starburst color.  I thought about doing a fun color or even white, but settled on the metallic gold.  It would be an easy fix if I wanted to change it later.


Since our Michael's decides to be out of everything that I need (turns out they have discontinued their frameless mirror supply), I had to order a twelve inch round mirror online from Hobby Lobby.  Even with shipping it turned out to be pretty inexpensive.


Here's how it turned out:


It definitely does its job by filling up the big wall.


Now, Drew has a mirror on his side of the bed as well :)


Has anyone else caught the Pinterest bug?

Thursday, August 9, 2012

I'va Caught the Bug

That Pinterest bug seems to be going around and I'm pretty sure I have caught the bug too.  Contrary to most "bugs" this one is quite amazing and ultimately, addicting.  I soon realized that I had been doing a lot of pinning, but not a whole lot of project-ing.

While I'm not the most craftiest person there is, I pinned this project because it seemed easy and inexpensive.  Here is the inspiring picture from Pinterest (originally from this blog):


Why didn't I think of this before!?!  Paint Sample Coasters!

I headed up to Home Depot grabbed a few square tiles and paint swatches, and then to Walmart for some Mod Podge and clear spray acrylic.  While the tiles in the picture have a rounded edge, I opted for a flat edge tile hoping that it might be a bit easier to work with.  I found paint swatches that coordinated with the colors that are in our evolving music room (more on that room soon!).

(Note:  I just realized while writing this post that I had picked up the same exact green paint swatch as in the original Pinterest picture.  Simply coincidence.)

To begin, I simply cut out the paint swatches (being sure to keep the name of the paint color, because I like that :), and used the Mod Podge to glue them to the tile.  I then applied another layer of Mod Podge every 20 minutes.  The finished coaster had around four or five coats of Mod Podge.

(This picture shows a glimpse of my extreme multitasking skills: working on two Pinterest projects at once!)


After I let the final coat of Mod Podge dry overnight, I applied a clear spray acrylic to protect from water/condensation.  I went with a gloss acrylic spray simply because I wanted my coasters to have some shine.


To protect our tabletops from the back of the tile, I applied (using Mod Podge) a square of craft foam from Michael's.  I tried looking for some thin cork, but at the time could not find it anywhere.  I ended up finding some cork at Michael's about a week ago, but the foam seems to work just fine.  I made sure to cut the foam square smaller than the actual tile, so it wouldn't show on the edges.


This picture shows the colors I am trying to bring together in our music room, which still has a long way to go before being finished.


This project was so simple that I ended up making coasters for our living and one for Drew Babe's nightstand where he likes to keep his bedtime glass of water.