Showing posts with label home. Show all posts

Monday, September 16, 2013

We have the stripes

That title almost makes it sound like we caught a case of something bad, but actually this is a good thing- a really good thing.  Slowly but surely we are making more progress in our little boy's nursery, and this is something I am particularly excited about.  

This past weekend, in lieu of our regular date-night-out, we picked up our favorite YNot pizza and had a stripe painting "date" at home.  We decided to paint some horizontal stripes on the crib wall, as an accent.  Instead of choosing on just one color for the stripes, we decided on three colors for a little different look.  Picking the colors was one of the most challenging parts, because we still wanted them to somewhat coordinate with the others.  

In our original rendering of the accent wall, Drew made sure that I wasn't planning on using purple in our son's room.  I assured him I was not, and that was the only crayon color choice that I could find at the time.


We changed the stripe placement after measuring everything out on the wall.  The final colors we went with were all satin finish from Benjamin Moore: Vermont Slate, Blue Stream, and Water's Edge.  Since we were only doing stripes on one wall, I was able to just buy the sample size paints.

I put Drew Babe in charge of the measuring and leveling of the stripes, because I know he is much more of a perfectionist than I am.  I do like things to look perfect, but some things I don't bother to take the time.  Thankfully I married someone who will do everything possible to make sure something is straight/level/etc.

 
The Frog Tape held up to its standards and prevented any bleeding, even on our textured wall.


The two colors here are the dark Vermont Slate and the Water's Edge.


After each stripe was complete, we got more and more excited to see the finished product.  The top and bottom stripes had us laughing hysterically while we were painting them.  They seemed to be the same exact color as the rest of the walls, when it was supposed to be a shade darker.  Thankfully after it dried, it was in fact darker than the rest of the walls.


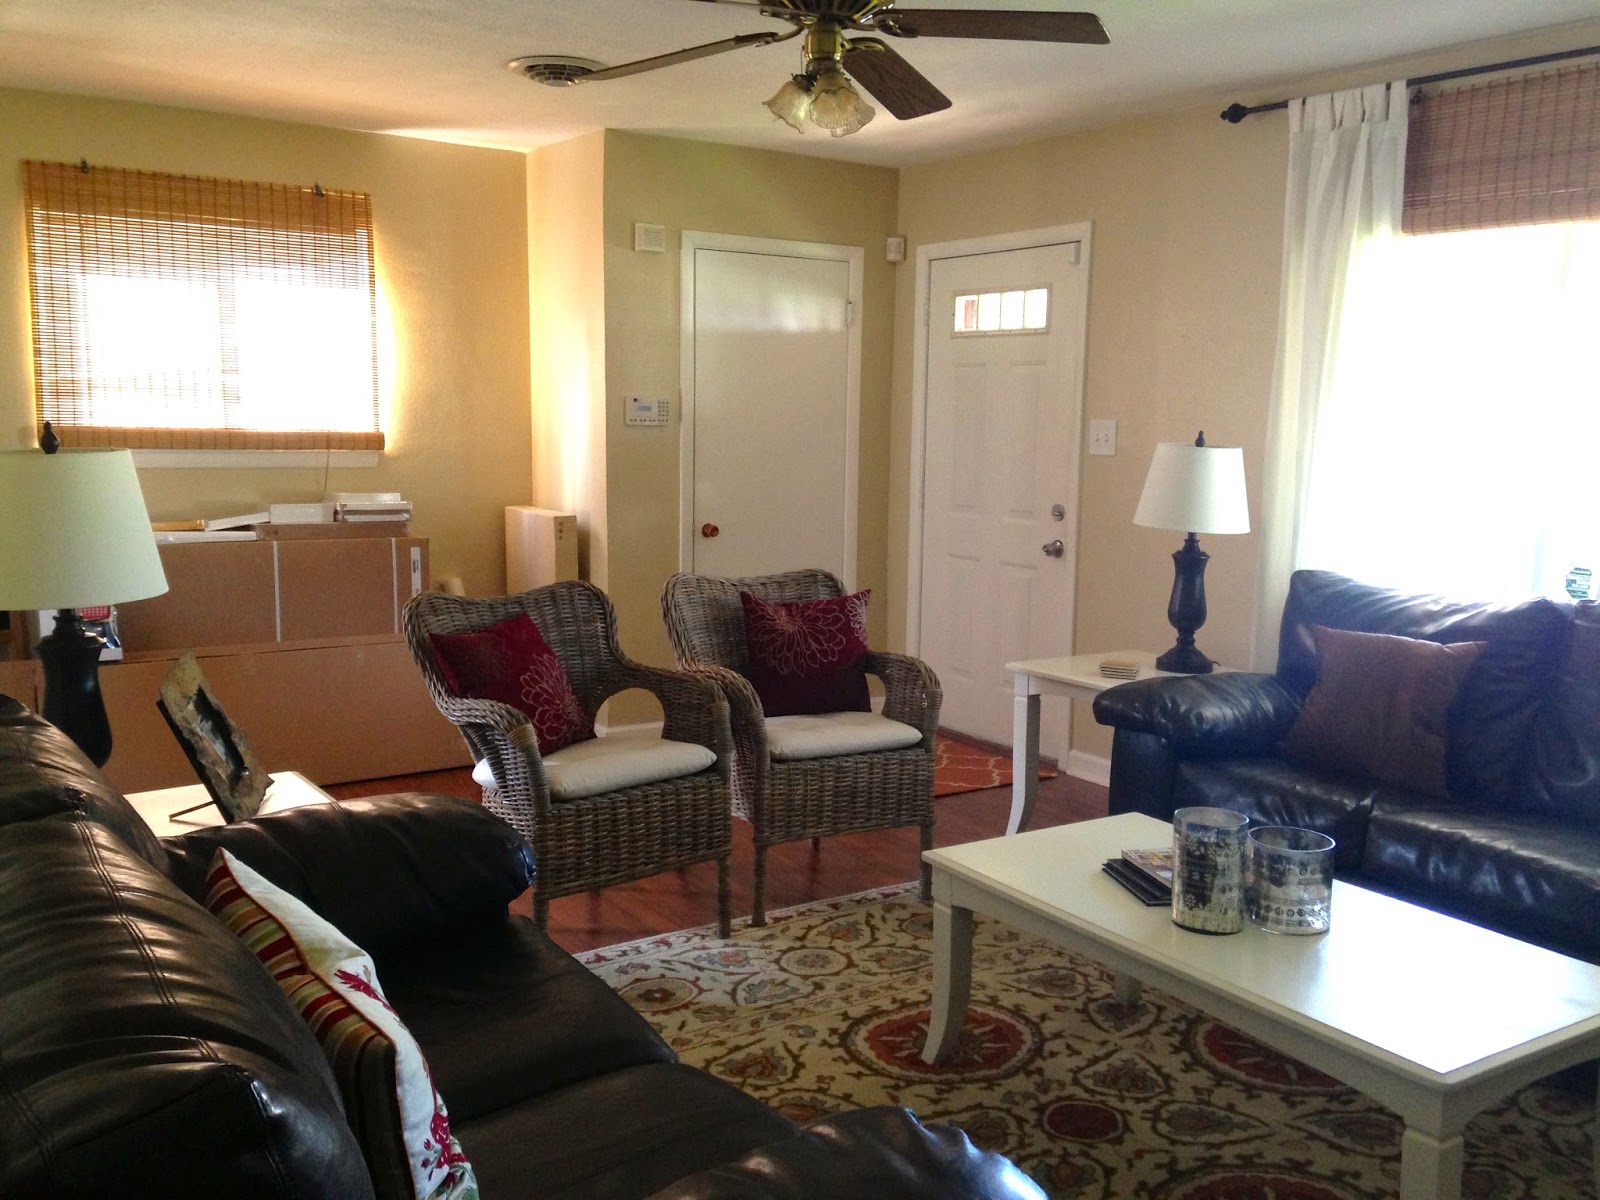
Here is where the room started:


And here it is today:


I think we have officially finished all of the painting portion of the nursery.  There is still much to do, but we are making progress.

  • re-paint all trim
  • paint the stripes
  • paint bedroom door and closet doors
  • install new outlets and covers
  • put together the furniture
  • install blinds
  • install curtain rods and hang curtains
  • add some artwork to the walls
  • re-do entire closet
  • decorate and organize (the fun part!)

Tuesday, August 27, 2013

New additions

Baby Jax is not here yet.  We haven't adopted any new pets.  But we have added some new things to our living room.

Between childbirth classes, doctor's appointments, working full time, and trying to find time to eat, sleep, and maintain some kind of order at the Martin House, my blogging has been a bit sporadic.  I did want to show you a little update of the new additions in our living room.  Last year my parents blessed me for my graduation with a beautiful Pottery Barn rug.  I picked out something that looked classic with a touch of modern, so hopefully it will still be in style 10 years from now.


You may have noticed the layout looks a bit different too.  After having a few family gatherings at our home, we noticed there really wasn't much seating available.  During our latest trip to Ikea we picked up two wicker chairs and put them where the loveseat used to be.  The new arrangement added additional seating and feels more open when you walk in the front door.


Don't mind the pile of Ikea boxes in the background.  Those are all for Jaxson's nursery, and I promise we will get started on that sometime soon!


 Here is a better shot of our new Ikea chairs.  For the price, they are actually quite comfortable and sturdy.


Please pardon the subpar pictures.  I am definitely not a photographer (which you probably have already figured out) and recently (for convenience sake) have been using only my iPhone for all my picture taking.


Friday, August 9, 2013

Sheets to curtains

A while back, I found a cute sheet set on clearance at one of my favorite places, Target.  The colors and pattern were just what I was looking for to go in the music room.

Well, the sheets sat there for days weeks months before I finally decided to turn them into curtains for the music room.  I only bought a twin set, so the curtain panels came out kind of skinny and are more just for "show."  I simply cut the flat sheet into 3 equal sections and used iron on hem tape for the hem.  I'm a cheater.  I pretty much only know how to sew a button.  The hem tape seemed to work just fine for this project though.


For around $2.33 per panel, I don't think they look too bad.  I also found the rods on clearance at BB&B for $10.


Instead of having 4 super skinny panels, I just decided to create 3.  So now there is simply a single panel on the smaller window.  Maybe if I get real ambitious and decide I need another panel on this window, I'll see what I can do with the fitted sheet....but that's a big maybe.


Oh, and here is a little "before" and "after:"


I'd still love to paint the walls a nice gray....one day.

Sunday, July 28, 2013

Hello again

Wow.  It's been a long time.  Nearly a year since the last post.  Well, much has happened at the Martin House in the past several months.  Don't worry, I won't  bombard you with all the details at once, but just thought I'd share a little kitchen update we recently finished.

Our kitchen has been a long process.  We have gradually added updates as time and funds allowed.  It is almost how we would like it, but it seems like new ideas pop up all the time.  And when are you ever really "finished" with a project when you own a house.

This last project included painting the walls (finally!!!!) and installing new cabinets.


Also, since I last posted our kitchen pictures, we have added brand new stainless steel appliances.  We found a great deal and are in love!


We decided to add cabinets above our peninsula for more storage.  I have always wanted to have some glass front cabinets in my kitchen and my wonderful Drew Babe decided it would be a good idea with this project.  He routed out the panel in the center of the cabinet doors, so there would be a place for the glass to rest.  A glass shop cut and installed the glass.  While seeded glass was my first choice, we just couldn't justify spending the $60/sqft, as opposed to the $6/sqft for the clear glass.

I am loving the glass front cabinets to display my white dishes.


I have been dying to repaint the kitchen for a long while.  We went with a Sherwin Williams color called Ancient Marble in a satin finish.  It is a grayish-sage-green color.  Drew says it looks a lot more "mature."  I guess we are growing up ;)


Drew Babe also beautifully installed a beaded board backsplash under the cabinets.  I swear he can really do anything.  All of the crazy ideas I come up with for house projects, he can always figure them out and complete them.  Poor guy, his honey-do-list is really never-ending.


Now for a little "before" and "after."

Before:


After:


Before:


After:


Like I said there are still a couple things we would like to do in the kitchen, such as install new lights (maybe recessed lighting Drew Babe?;), paint the kitchen table, or possibly install a new built-in breakfast nook bench/table, and add some wall art.  As of right now we are definitely enjoying our newest update.

Next big project at the Martin House: the nursery!


Wednesday, August 8, 2012

Step Two....and Three....

of our flooring project.  Remember step one was mentioned several months ago in this post here.

It turns out buying our new floors was the quickest part of the project.  The 40 boxes of flooring ended up sitting in our music room for a while before we did anything with them.  When we finally got to the "Put in new floors" part of our "Things to Do Around the House" checklist, we decided to have our handy next door neighbor take care of the installation.

While our house quickly turned into a construction zone and a complete disaster, it was nice to have brand new floors in all four rooms in just five days.  We shoved most of the furniture and accessories into our room to make it easier for them to lay the floor.


See what I mean, it was a wreck!


Then came one of my favorite parts of the project.  Ripping out the hideous outdated vinyl floor and....


the brown carpet.  I don't think we were even a bit sad to see this go.


It would have been amazing, if underneath all the old flooring we found hardwood; but instead we found this hospital-like linoleum tile throughout the entire house.


After the carpet and vinyl flooring was ripped out, a moister barrier was laid.  Then came a slightly padded underlayment for cushion and to help with sound, since we are on a slab.

Of course, this is the only in-between picture I took, probably because it was a pretty quick process after the doorways were cut out.


It was so fun to come home one evening and see this in our living room!


Some people cautioned us about putting the flooring in the kitchen because of possible swelling from spills.  Well, Drew Babe decided to perform his own MythBusters by soaking a scrap piece of flooring in a bucket of water for several hours.  While our floor will hopefully never be "soaking" for several hours, we found the scrap piece had no swelling at all.

Myth:  Does laminate wood flooring swell when in contact with water?

Finding:  Busted!  (at lease with our floors)


 (side note:  I promise I don't usually decorate our kitchen table with swords:)


To give everything a finished look, we had shoe molding installed.  Drew Babe decided to go ahead and give the baseboards a fresh coat of paint because the shiny new floors made every scuff and nick on our baseboards stick out like a sore thumb.

Once I get the house cleaned and straightened up, I will post a complete "before" and "after" of The Martin House flooring project.


Monday, August 6, 2012

Break is Over

After a taking an almost 4 month break, I am finally back to blogging.....hopefully.  Since that last post in April much has happened both in the Martin House and the Martin life.

You might remember the project we began a few months ago by purchasing our new floors.  Because we had to cover the kitchen, spare bedroom, living room, and music room, we searched and waited for the best deal we could find; and jumped on it when we found "our" floors at Lumber Liquidators.  Well, that project has finally been accomplished and will soon be described here on the blog.

Also, during our 4 month break from blogging we've been on a few family vacations, I have graduated from Old Dominion University, and we have dabbled in some other projects around the house.  Fortunately I have been pretty good about taking pictures of everything that's going on, so hopefully it will be up here soon!

For now, I'll leave you with a sneak peak of one of the biggest Martin House projects:


Sunday, March 18, 2012

Step One

Well, we just checked off step one of our next big project.

For the past year we have talked off and on about installing new floors in the family room, kitchen, and (if we found a too-good-to-be-true great deal) the guest bedroom and music room.  We were waiting for just the perfect deal on the color we wanted.

Our waiting and searching eventually paid off.  A couple weeks ago Lumber Liquidators (or as Drew would call it, Liquid Lumberdators) had an awesome deal on cherry laminate flooring.  The price ($0.79 per square foot) seemed perfect, yet we still couldn't decide.  After pondering on that $0.79 per square foot for a while, I decided to check the Lumber Liquidators' website another time and noticed the price had been dropped to $0.59 per square foot.


I gave Drew Babe a quick call at work and we decided to jump on it.  Next thing you know, we have 40 boxes of laminate wood floor stacked in our music room.


Because of the great price, we were able to get enough to cover our entire house, except our bedroom (the carpet in there is still fairly new).

Not quite sure when this project will start, but I know we are both excited to check off the first step of saying goodbye to this:


and this:


When searching for our floor, we both liked the medium wood shades.  We settled on a cherry laminate flooring:


I'll be sure to keep you posted as we tackle this project of covering nearly 1000 square feet with laminate flooring.  We're open for any thoughts, tips, or suggestions :)


Saturday, March 10, 2012

A Trip to Target

I don't know about you, but I have no trouble at all finding at least one cute home accessory whenever I stop in Target.  It can be quite a problem, and that is exactly why our trips to that tempting store are kept to a minimum.

Last Friday we had some time to kill, so Drew Babe suggested we go look around Target for a little while. Despite our good intentions of simply "looking," we found a few things we really needed wanted.

I'm not sure if you remember our white horse head we previously had in the shelf above our TV.  Well, we had to say goodbye to Mr. Horse (Drew was not quite as fond of him as I was) and begin our search for another item to fill that spot.


I knew I wanted something white to tie in our newly painted white tables and for added contrast against the dark shelf.  There were plenty white figurines to be found, but we weren't really going for the a buddha, bunny, or hippo.  While patiently searching around for a couple months, we found something we both liked on our trip to Target.

Here is our new ceramic white owl in his new little home :)


We ended up finding our owl in the garden section at Target.  
Btw: in this picture you can see we finally put some pictures in the frames around our TV....certainly took me long enough!  


Another great find from Target was a wall clock, and at just $6.99 we couldn't pass it up.  We both loved the clean lines and crisp white color of the clock.  Drew found a perfect spot for it above a door in the kitchen.


The faint tick-tock sound reminds me of my grandma's house, which has probably close to 15 ticking clocks of all kinds.  While I do love that sound, especially at my Grandma's, I think one ticking sound is plenty for our little, cozy home.


Maybe someday we will really follow our rule to just "look" around Target.

Saturday, March 3, 2012

One More Paper Gift

Here is the little "paper" one year anniversary gift I got for my Drew Babe:


I found this idea, along with a free template, on this blog.  Not only was it free, but the blog also offered several different chevron stripe colors to choose from (as you can see, the chevron stripe craze has hit me as well).

The simple white frame and the dry erase markers were found at Target.
  

I hung the frame on a kitchen wall where we have to walk by it at least a few times a day (that way we don't forget about it).  Throughout the week we often take turns writing little notes to each other.

It's a easy, yet meaningful way to share why we love each other.

Sunday, February 26, 2012

Print Giveaway!

A friend of mine, Amanda, is hosting a giveaway on her blog.  The winner gets to choose one of the seven super cute prints.  I entered, and had such a hard time choosing which print I would love to have in my home (that is, if I win ;).  It is quick and easy to enter, so go check it out!


Here is just a sample of one of the many prints you can pick from.

psst....the rest of her blog is just as lovely as the adorable prints :)

Friday, February 10, 2012

Quick Update: Guest Bath

It has been busy here at The Martin House.  With school back in session it's harder finding time to keep crossing off the honey-do-list things, but I wanted to give you a little update on the few projects that are happenin' around here.


 Our guest bath definitely had a bad case of the "blahs" before I gave it a little pop of color.  I decided to cover up the sliding shower doors with a colorful shower curtain and add some art to the walls.  One day we will probably renovate the entire bathroom, but for now I just gave it a quick, easy, and inexpensive makeover.


The entire bathroom is tan, even the tile.  I knew it needed some color to liven it up a bit.


I found a funky, colorful paisley shower curtain at TJ Maxx for just $12.99.  It has my two favorite colors (blue and green, in case you couldn't tell), and looks much better than the boring sliding doors.  There is also beige/tan in the paisley pattern, so that helps tie it in to the walls and tile.


 We still had some picture frames we received as wedding gifts laying around, so I finally put them to good use.  My grandma gave me some vintage postcards with tropical scenes from Florida.  I thought they would be perfect in the guest bath, but they were too small for the frame and mat.  I rigged it by adding aqua blue colored paper behind the postcard.  It actually worked out great and makes the postcards pop even more.


On this wall I added another postcard picture, but instead of a plain mat I used the backs of several postcards.  I may have formed somewhat of an obsession with vintage/antique postcards now (at least it is a fairly cheap obsession, contrary to my other obsession with anything Pottery Barn).


Adding the aqua blue paper behind the postcards was super easy and goes great with the shower curtain.


Quick and cheap.  Those are my some of my favorite kinds of house projects.  Within the next week, Drew Babe and I are celebrating Valentine's Day and our one year (I really can't believe it has been a year!) wedding anniversary.  I will try hard to remember to take pictures (charging my camera, right now!) and eventually share with you how we celebrated.